Are you ready to start your online journey with a WordPress website? Congratulations! WordPress is a powerful and versatile platform that can help you create anything from a personal blog to a full-fledged e-commerce site. In this step-by-step guide, we will walk you through the process of setting up your own WordPress website. Let’s get started.
Step 1: Choose a Hosting Provider
Before you can begin setting up your WordPress website, you’ll need a hosting provider to store your website files and make them accessible on the internet. Some popular hosting providers include Hostinger, Godaddy, MilesWeb, Bluehost, SiteGround, and HostGator. Choose one that suits your needs and budget.
- Sign up with your chosen hosting provider and select a hosting plan.
- Register your domain name (the web address for your site) or use an existing one.
- Set up your hosting account, and you’re ready to move on to the next step.
Step 2: Install WordPress
Most hosting providers offer a one-click WordPress installation, which makes the process incredibly simple.
- Log in to your hosting control panel.
- Look for an option like “One-Click Install” or “Auto Installer.”
- Select WordPress from the list of available software.
- Otherwise, you can also manually download WordPress and upload it’s files to your file server.
- Follow the on-screen instructions to complete the installation process.
After a few minutes, WordPress should be installed and ready to use.
Step 3: Configure Your Website
Now that you have WordPress installed, it’s time to configure your website settings.
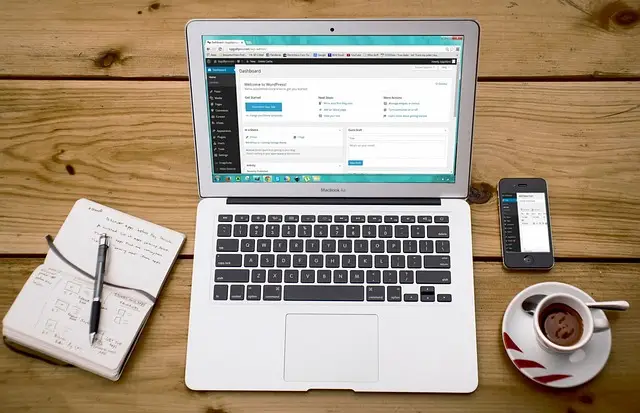
- Log in to your WordPress dashboard. You can access it by going to http://yourdomain.com/wp-admin, replacing “yourdomain.com” with your actual domain.
- You’ll be prompted to enter the username and password you set during the installation process.
Step 4: Choose a Theme
Your website’s appearance is determined by its theme. WordPress offers a wide range of free and premium themes. You can choose a theme that suits your website’s purpose and customize it to your liking.
- In your WordPress dashboard, go to “Appearance” and then “Themes.”
- Click on “Add New” to browse the available themes.
- Install and activate the theme of your choice.
Step 5: Install Essential Plugins
Plugins are like apps for your WordPress website, adding functionality and features. Here are some essential plugins to consider:
- Yoast SEO: Helps with search engine optimization.
- Akismet Anti-Spam: Protects your site from spam comments.
- W3 Total Cache: Improves website speed and performance.
- UpdraftPlus: Provides backup and restore capabilities.
- In your WordPress dashboard, go to “Plugins” and then “Add New.”
- Search for the plugins you want and click “Install” and then “Activate.”
Step 6: Create Key Pages
Now it’s time to create some essential pages for your website:
- Home: Your site’s main landing page.
- About: Share information about yourself or your business.
- Contact: Make it easy for visitors to get in touch.
- Blog: If you plan to have a blog, set up the blog page as well.
- In your WordPress dashboard, go to “Pages” and then “Add New.”
- Create and publish each page, adding content as needed.
Step 7: Customize Your Website
Customizing your website is crucial to make it unique and appealing. You can customize your site in various ways:
- Customize your site title and tagline under “Settings” > “General.”
- Create a menu under “Appearance” > “Menus” to organize your site’s navigation.
- Set up a logo and header image under “Appearance” > “Customize.”
Step 8: Create Content
Start adding content to your website. Write blog posts, create pages, and upload images and media as needed. Make sure your content is engaging and relevant to your target audience.
Step 9: Optimize for SEO
To increase your website’s visibility on search engines, install the Yoast SEO plugin and optimize your content for keywords, meta descriptions, and other SEO elements. This will help your site rank higher in search results.
Step 10: Test and Launch
Before you officially launch your website, it’s important to thoroughly test it. Check for any broken links, typos, or issues with the design and functionality. Once you’re confident that everything is in order, it’s time to announce your website to the world.
Congratulations! You’ve successfully set up your WordPress website. Now you can continue to add content, build your online presence, and explore the endless possibilities that WordPress offers for customization and growth.
Good luck on your web journey ✌🏻